MANTEL MAKEOVER -- For Under $200 Using Reclaimed Materials!

This is an oldie but Goodie! Did this project for DIY Network, but when the holidays roll around, I always think of it — because I can picture myself next to it — even if we couldn’t put an actual fire in it — it still gave off that charming fireplace feel — even without the fire! So if you don’t have a fireplace (or cannot have one — or you have an old fireplace that no longer works) you can still create that charming and inviting cozy feeling you get from sitting around the fire. xoxo Joanne

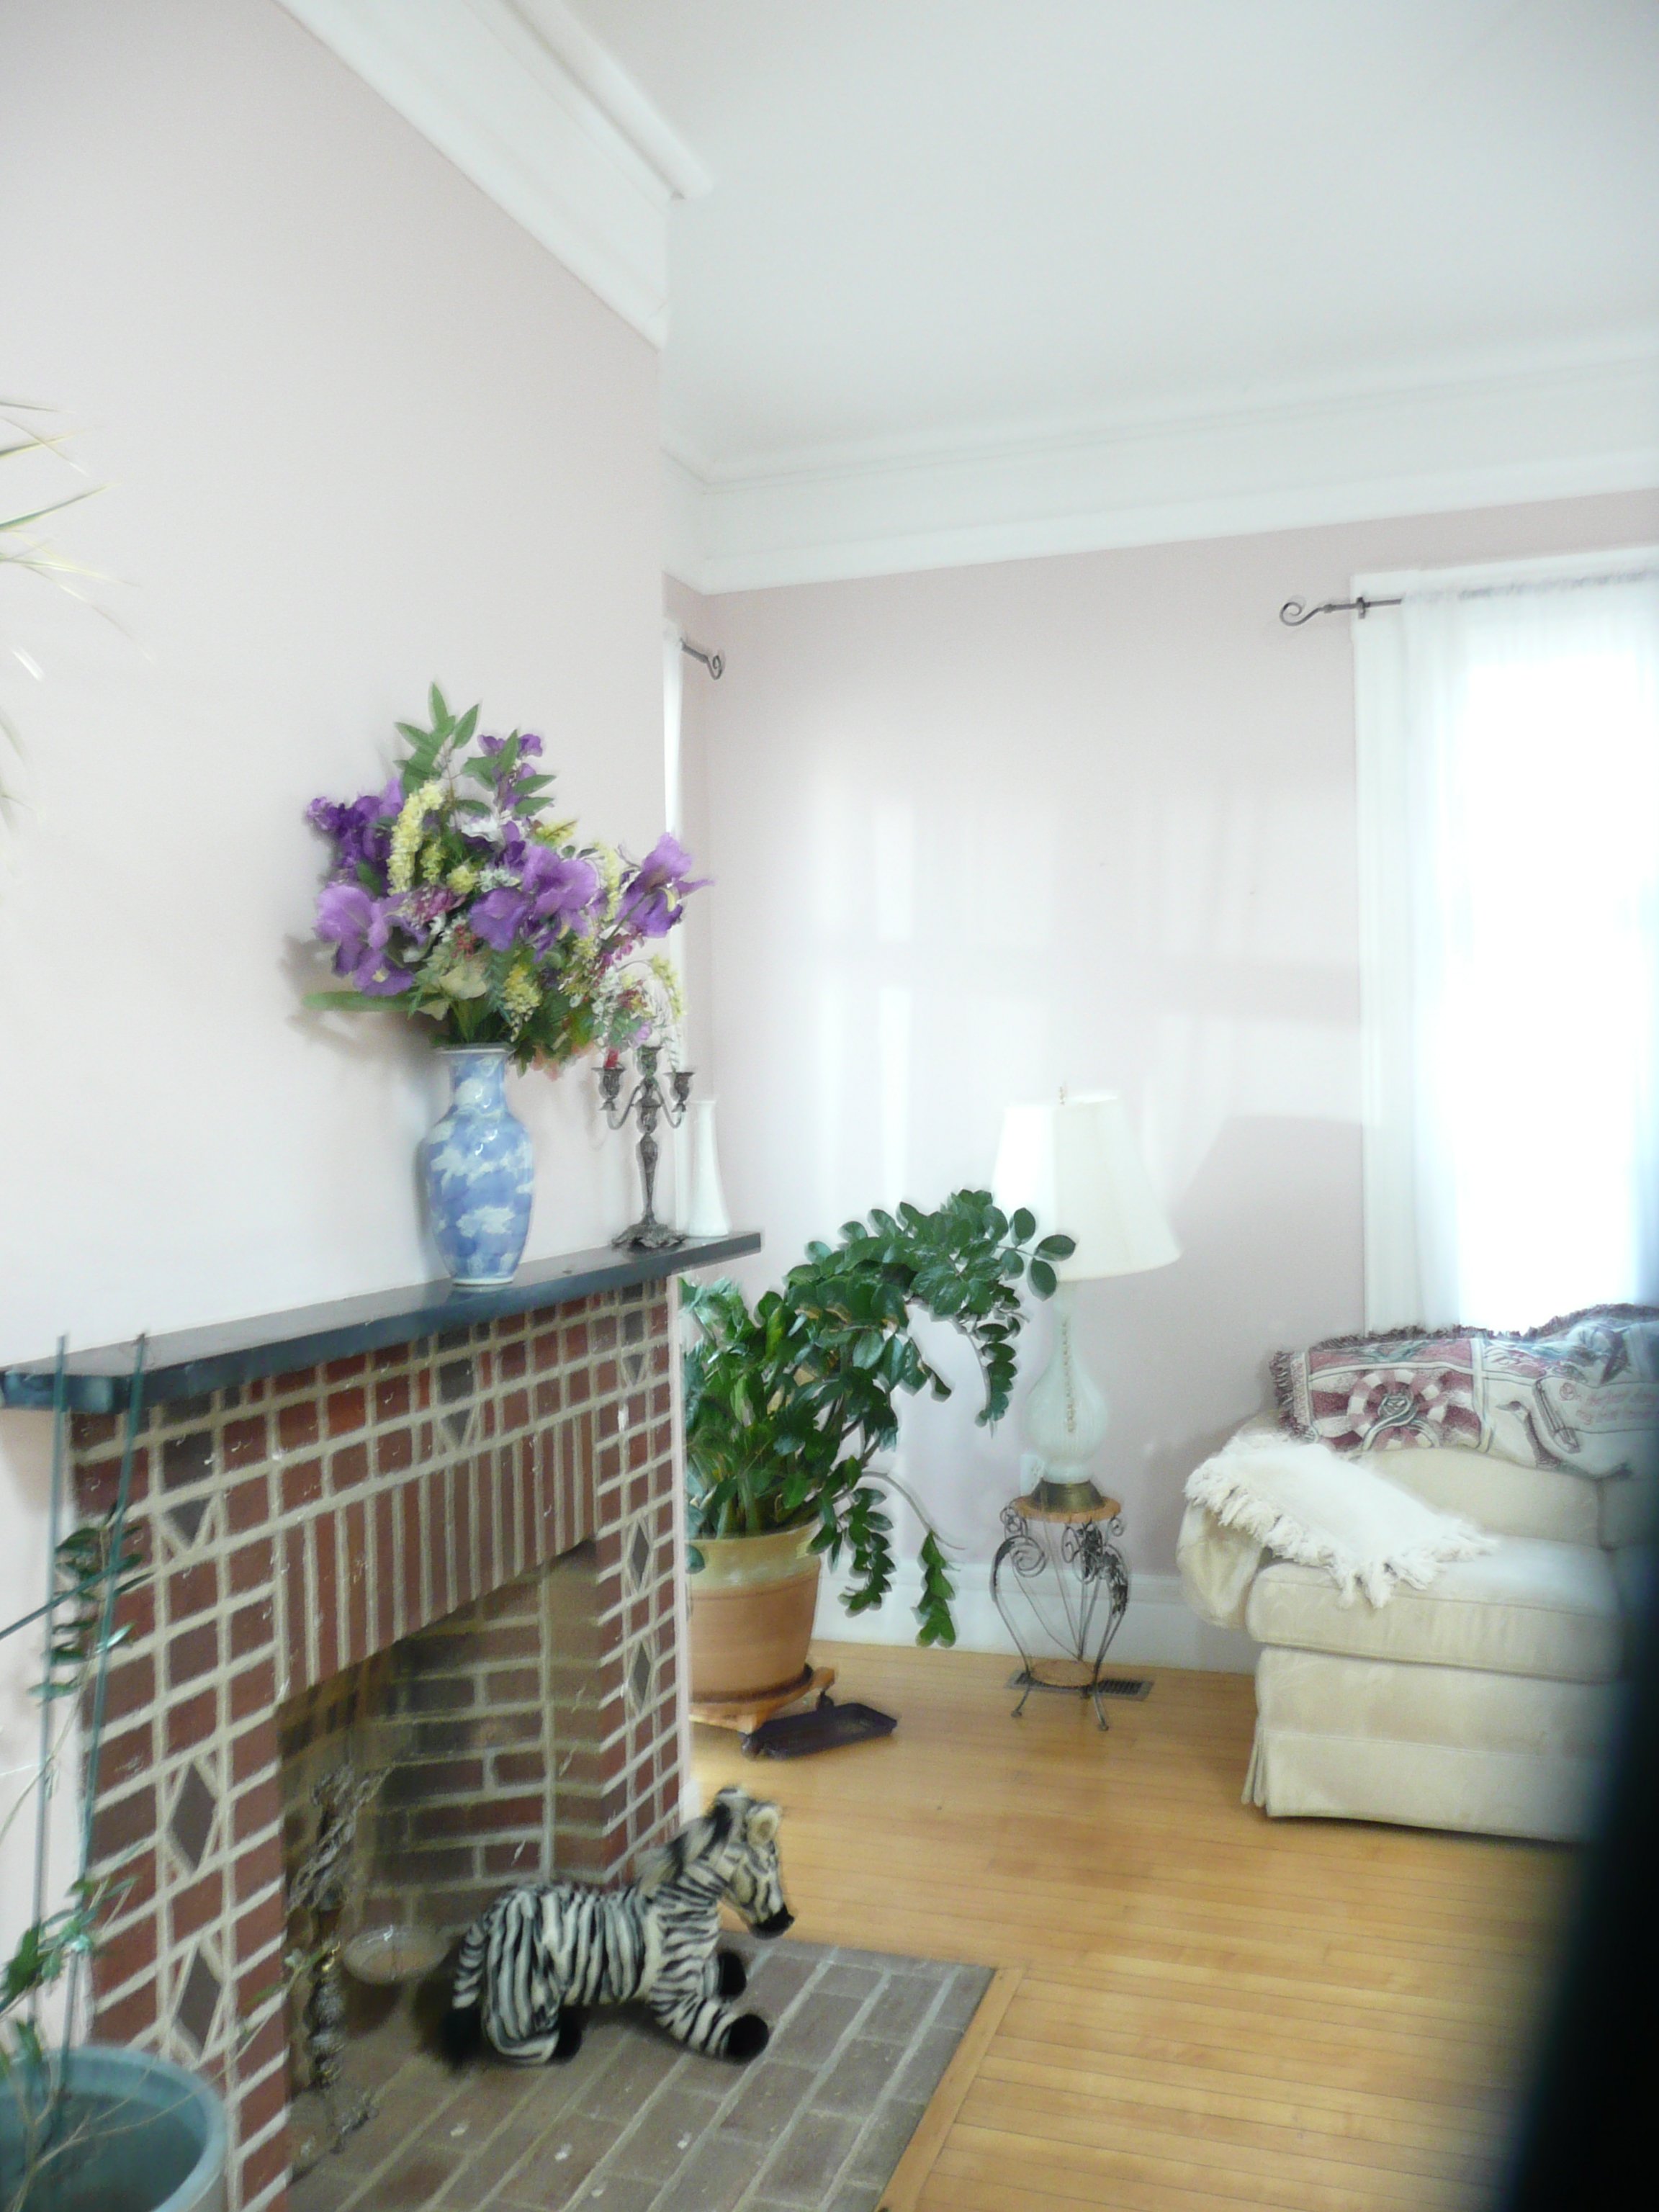
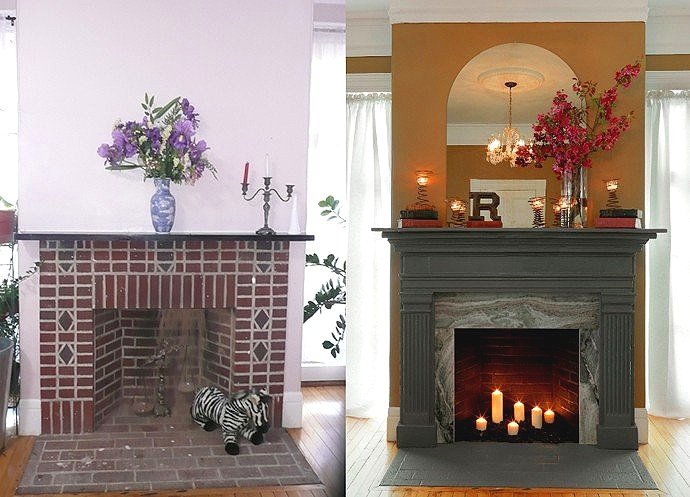
BEFORE: So this is what we started with. An outdated brick fireplace that had a very narrow mantel. The fireplace no longer was in use, but that didn’t stop us from creating a super budget friendly mantel makeover!

ANOTHER BEFORE: :)

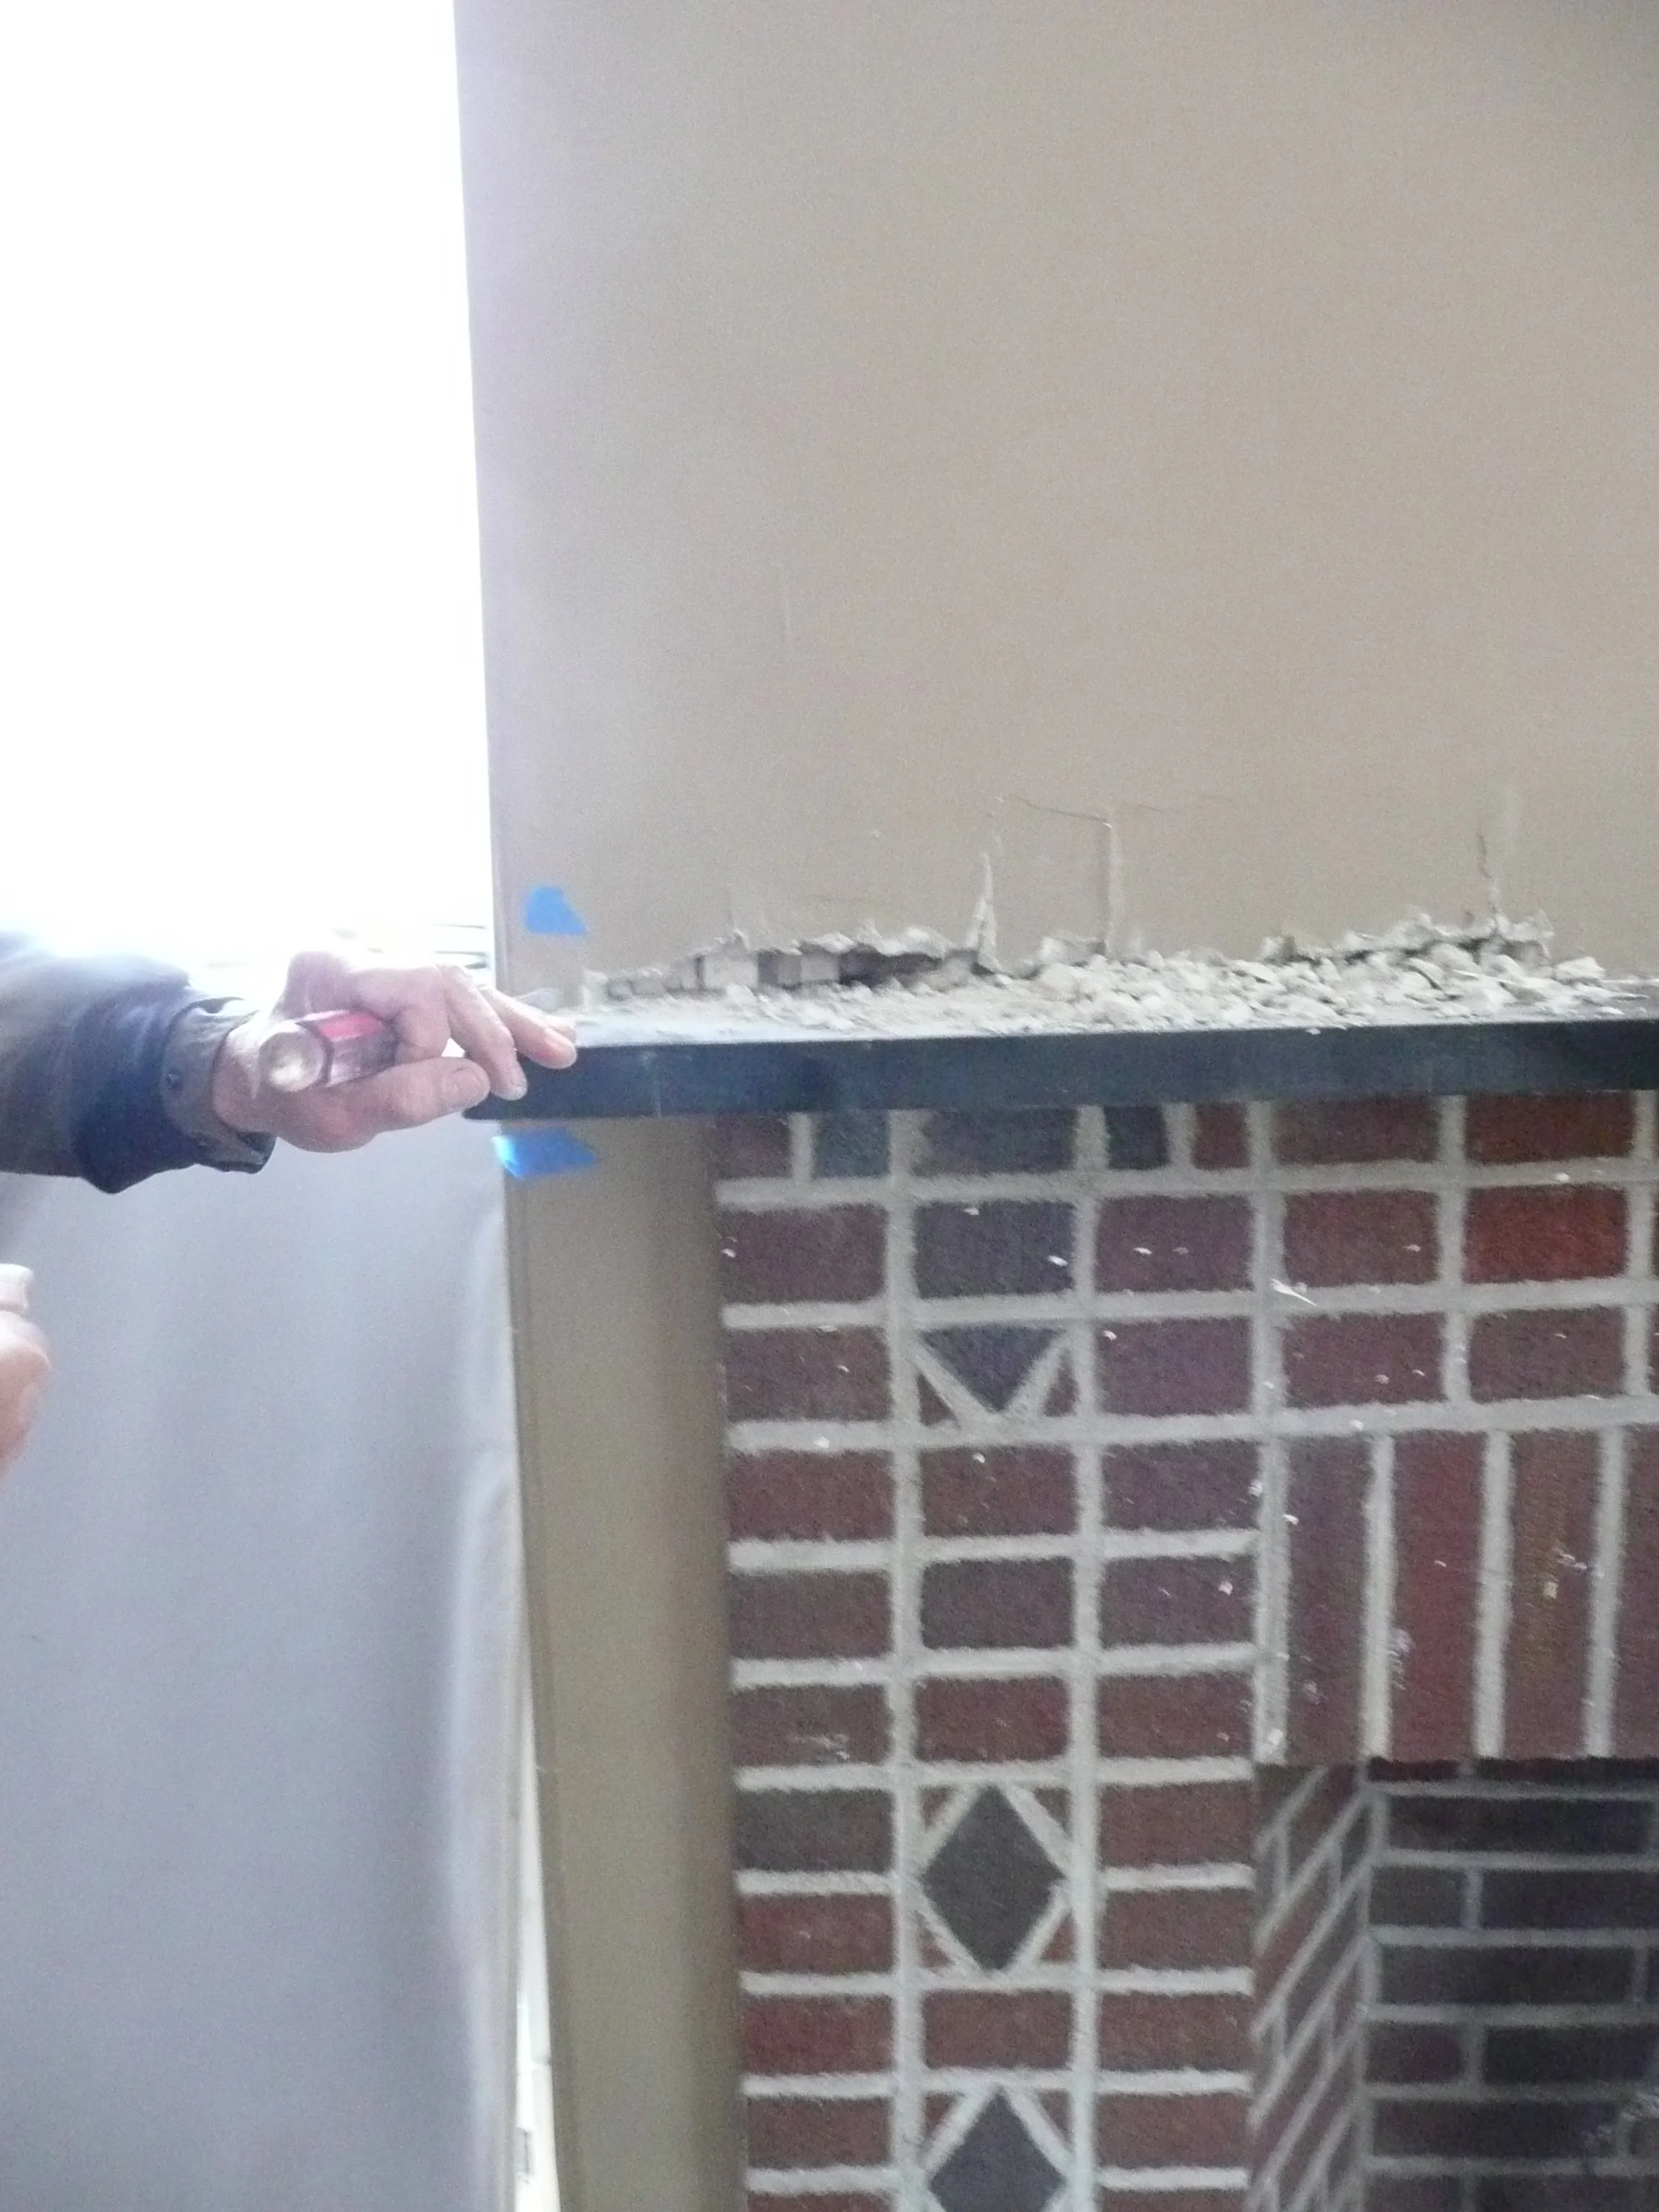
Why did we remove the old mantel… because we wanted to create a wider mantel — and we wanted to start with a wider piece of wood.

NOTE: MAKE SURE TO FOLLOW ANY CODE FIRE RULES — ESPECIALLY IF YOU HAVE A WORKING FIREPLACE.

Thankfully, we had a large brick area above the fireplace — so we could go ahead and add the wood directly on top of the brick. We

We found these left over pieces of marble at a salvage shop for about $20 each… We used them to go over the brick in the surround area of the fireplace (we needed at least 12” all around the firebox). Again, refer to the CODE requirements for your fireplace.

Make sure the brick is cleaned well — and ready for the adhesive to place the stone…

After a good cleaning — you can paint the inside of your firebox with FIRE-RATED Paint! Let dry well before moving on. You may need a second coat. Read instructions on paint carefully!

We used a frame and weights to help the marble cure to the brick — as you can see we have not put up the top piece yet — we did the side pieces first — then the top went up after a day. You have to make sure the pieces are really PRESSED into the brick.

We found this old fireplace mantel and sides at an architectural salvage shop. But you can go online and find them on many sites like ETSY, Ebay and other Second Hand Shops, or even Facebook Marketplace. Our mantel and sides was pretty much a wreck — that is why we got such a great deal on it — it needed a little bit more TLC. But you can find some beauties that don’t need as much work from $200-$500.

We added the salvaged surround… then added a few pieces of extra salvaged wood along the top as well, to make the mantel deeper. We nailed it all in place. (Again, make sure there is enough stone between the firebox and the wood part of your mantel).

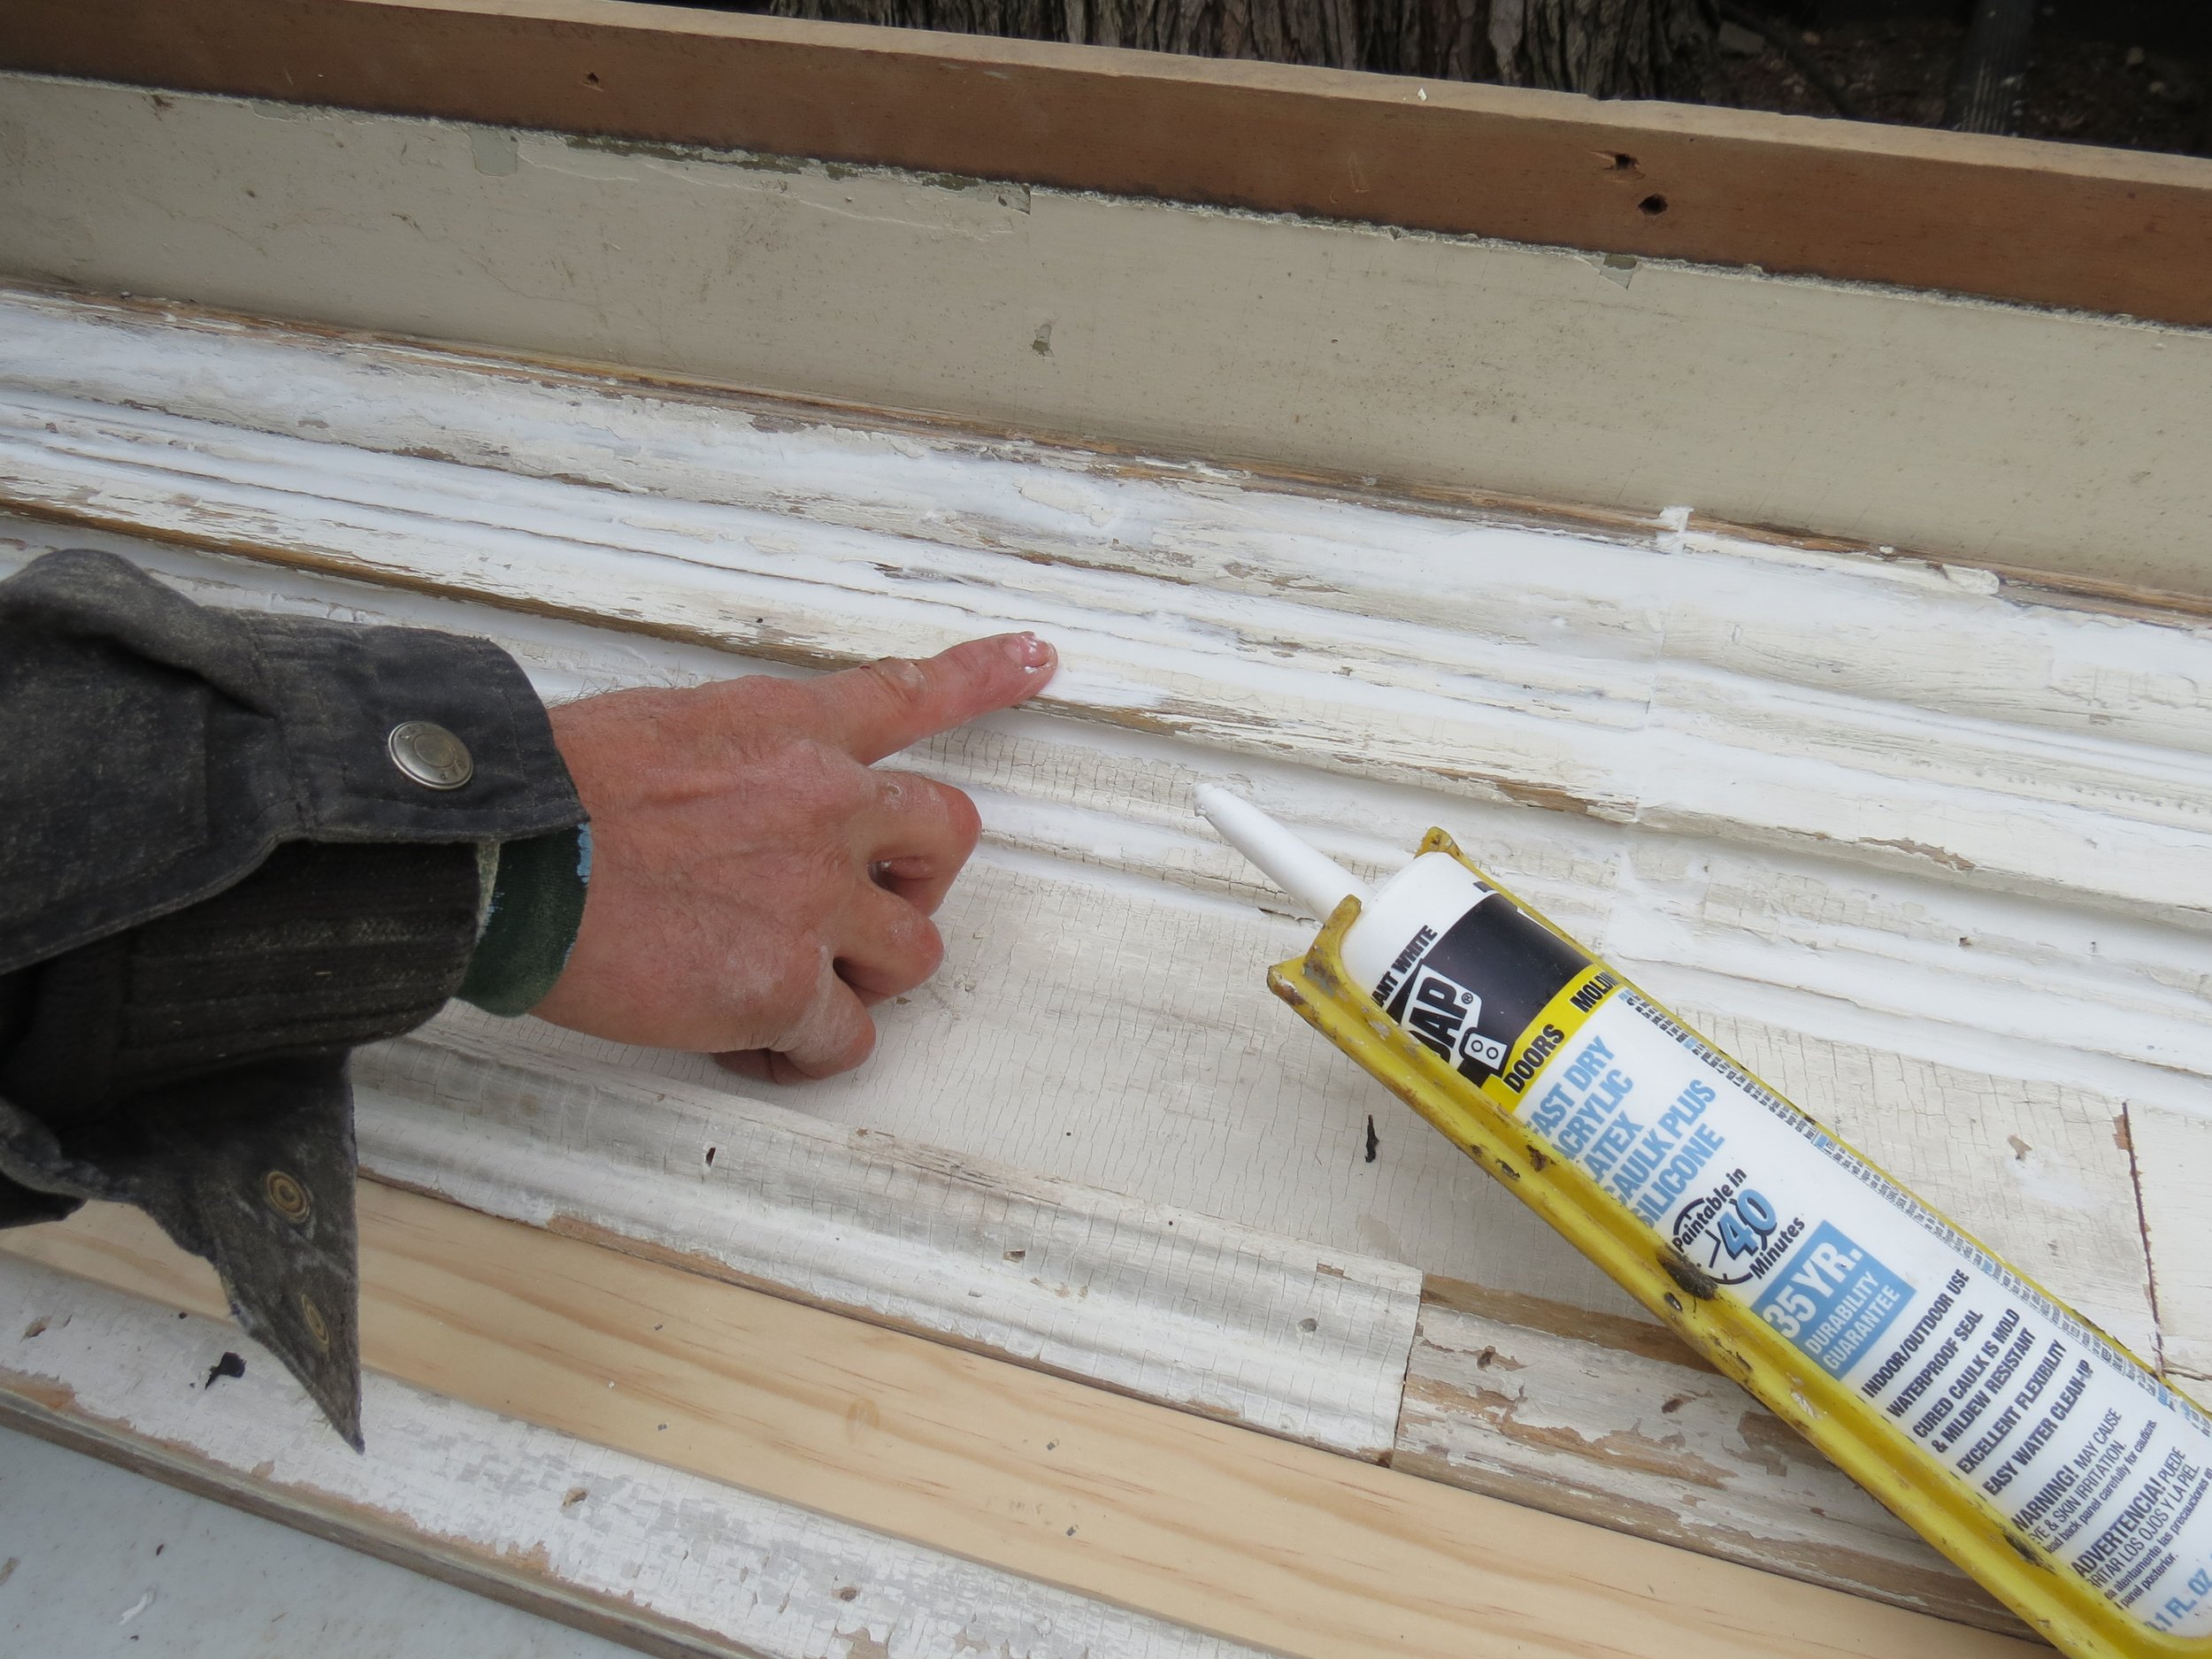
this is how all the pieces went together. We filled all the holes and caulked along all the seams. Then sanded it all.

Then I painted the entire surround.

TA DA! The completed fireplace makeover.

Then I added a $6 mirror I found at Goodwill, and some old bedsprings, books, candles and VOILA! A fireplace makeover… This is perfect in this historic home. But you can have an entirely different look by using different colors, style of salvaged trim and decor. Enjoy!

For my book, Styling with Salvage, we photographed this amazing house in Texas and in one of the bedrooms was a vintage fireplace mantel and sides that didn’t have a firebox but tiles instead. This is a great way to create a focal point in a room without actually having a fireplace.

Hope you enjoyed this project. For more fun DIY’s check out my books.

RECLAIM IT! WOOD - EASY TO USE DESIGN + DIYS IDEAS and MY FAB 3 WAYS TO USE IT!!

Let’s Talk About Wood… Baby…

Here are my 3 FAV ways to reuse wood in design and decor in our homes and businesses.

  • RECLAIMED WOOD LUMBER (Vintage, Reclaimed and Urban)

  • RECLAIMED ARCHITECTURAL SALVAGE (Doors and Trim and More)

  • VINTAGE/ANTIQUE WOOD PIECES (as Fixtures, Furniture and Decor)

After 25 years of working with salvage materials for myself and others — I want to share some easy ways you can use it as well. If you want more… my books are always available to you at your favorite bookstore or online Also — please sign up for my mailing list — once in a while I’ll send some really cool ideas and giveaways (once or twice a year).

Here I am — checking out wood at my local Rebuild Center… I mean — look at these boards!! Swoon worthy!

RECLAIMED WOOD LUMBER…

There is reclaimed wood from an old building that came down (usually amazing hardwoods you cannot even find today), then there is left-over dimensional lumber from somebody’s project that they dropped off at the rebuild center, then there is urban lumber (trees in a city that have to come down for a variety of reasons — that are usually unique species that are super special)… and that is just to name a few different types of reclaimed wood.

Let’s start small… this homeowner found these boards washed up on the shore and she painted them in beach cottage colors. She left the edges as she found them. This whole house is an amazing example of how to use reclaimed wood lumber in a variety of ways. She just cleated this DIY headboard to her wall. We photographed and styled it for my second book, Salvage Secrets Design + Decor.

Love this example of a house we photographed at one of my favorite designer’s cottage. Designer, Jessica Helgerson, shows us how using reclaimed wood does not always have to look dark or shabby — here she used reclaimed wood in a natural finish on the floor and white on the walls. An exceptional example of how reclaimed material can be any style — it just depends on how you use it and finish it.

Old reclaimed lumber doesn’t have to be used just on floors and walls or headboards — here is a custom designed vanity piece that I had created for a client. This wood is from a 1700’s barn. The depth of character is hard to describe. The custom carved marble sink that sits on top is in perfect modern juxtaposition of the rustic wood style of the vanity base.

Barn doors are super simple to make — what I love about barn door sliders is that in small areas, they really help you save space! Not to mention, the amount of character you can add to any room. These we left in their natural barn wood color (used to be outside on this old barn). But imagine these in a bright blue or pink in a seaside cottage, or a high-gloss black as a pantry door in a modern house… endless I tell you, endless…

Same project — different door — again saving space where it was really needed! Super fun turning an old barn into a vacation home. This Modern Rustic Luxury Vacation Home was an incredible project — what I loved is reusing the old barn siding in a variety of locations on property including as the sliding doors to the rooms and bathrooms.

RECLAIMED ARCHITECTURAL SALVAGE — DOORS, TRIM and MORE!

To tell you how much time I spend in Architectural Salvage Shops and Reclaimed Building Stores would be a bit embarrassing. But worth every second. The treasure they hold are incredible and we have to appreciate the amount of time it takes to deconstruct the buildings and bring these treasure to us. I’ve used

In this image alone I can point out numerous items you will find at an architectural salvage shop. The farmhouse table, the vintage chairs and the newel post (plus light and decor…). This entire home is featured in my second book, designed by the homeowners themselves. This simple farmhouse style shows how you can really incorporate reclaimed architectural bespoke elements and still have a contemporary feel.

This is one of my favorite — easy — game-changing — diy — headboards! Grab some old wood cabinet doors from your local salvage shop or rebuild center, place them on the wall behind your bed — screw them to the wall — fill the holes and then paint it all in a modern contemporary color that fits your style! Voila — SUPER EASY BUDGET-FRIENDLY HEADBOARD!!! All made from reclaimed wood cabinet doors. Blushing…

We featured this entire home’s budget-friendly design ideas for your vacation rental in our book, Rock Your Rental and it was featured online on Domino, Apple News, Vermont Ski and Ride and many more pubs. :)

How to make a kitchen island with old wood doors and brackets by joanne palmisano

Here is a project I did for HGTV and DIY NETWORK. An 8-part video series on Designing with Salvage Material. We created this kitchen island using old doors (we cut to use the bottom 2/3 of the door) and vintage brackets and a piece of copper for the top. These doors are actually the color we found them and the brackets as well. We just gave everything a coat of poly to see the chippy paint. This design style perfect for a country house but with only a few minor changes it would work well for a rustic modern or farmhouse style house. Just picture it painted all black — or all white — or stripped down to its natural wood color. Just these easy simple changes could transform the design look and feel — while still using the architecturally reclaimed pieces.

Ah… the days when someone else did my hair and makeup… oh wait — this is about salvaged wood…

Remember — when you are looking at salvage materials — including old doors — see what they can be — not what they are at that moment. This amazing interior designer, Kelly Giesen, shows us in her New York City apartment how to create a high-end glamourous look with all her salvage finds. All the doors are reclaimed she found at her local architectural shop — then she had them painted in a high-gloss white and added mirrors to some of them. Drop dead gorgeous — proof is in the pudding — old doors have a ton of character and charm — but can be made to look modern and bespoke at the same time!! It was a blast to photograph Kelly’s entire apartment and have it be in our Success Stories chapter of our book, Salvage Secrets Design and Decor.

VINTAGE/ANTIQUE WOOD PIECES (as fixtures, furniture and decor)

Okay, we could go crazy here — the hundreds of ways I’ve used old wood furniture and decor pieces in design, DIY and decorating is ridiculous. So I’ll just show you a few to get your juices flowing…

One of my favorite tricks of the trade… turning old wooden dressers into amazing modern vanities. They add charm and character — and not to mention — super functional. (BTW— I WOULD NEVER CUT UP a true antique piece. If you don’t know the backstory of a piece you are thinking of cutting into — ask the person you bought it from or our favorite antique dealer.) Great team on this project! Award-winning!

Here is the before picture.. We added a black stain over it and updated the knobs. :)

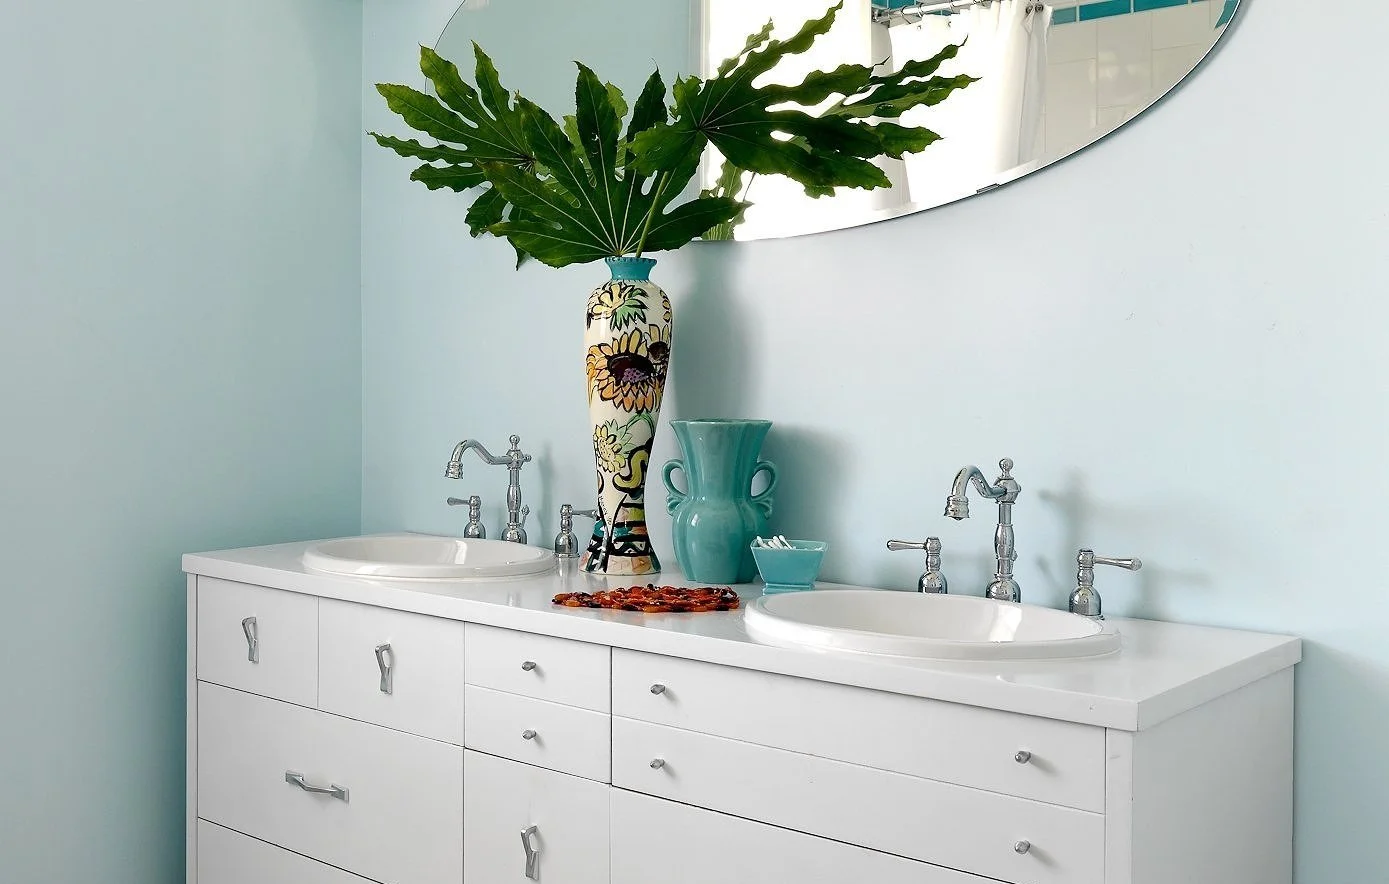
I mean… seriously — dresser to vanity — mic drop!! I did this project with my twin sister. We purchased this mid-century dresser at the Salvation Army for $50! Painted it white — spray painted the knobs — and dropped in the sinks. Then the plumber came and hooked up the faucets. Voila! Double Trouble DIYs. :)

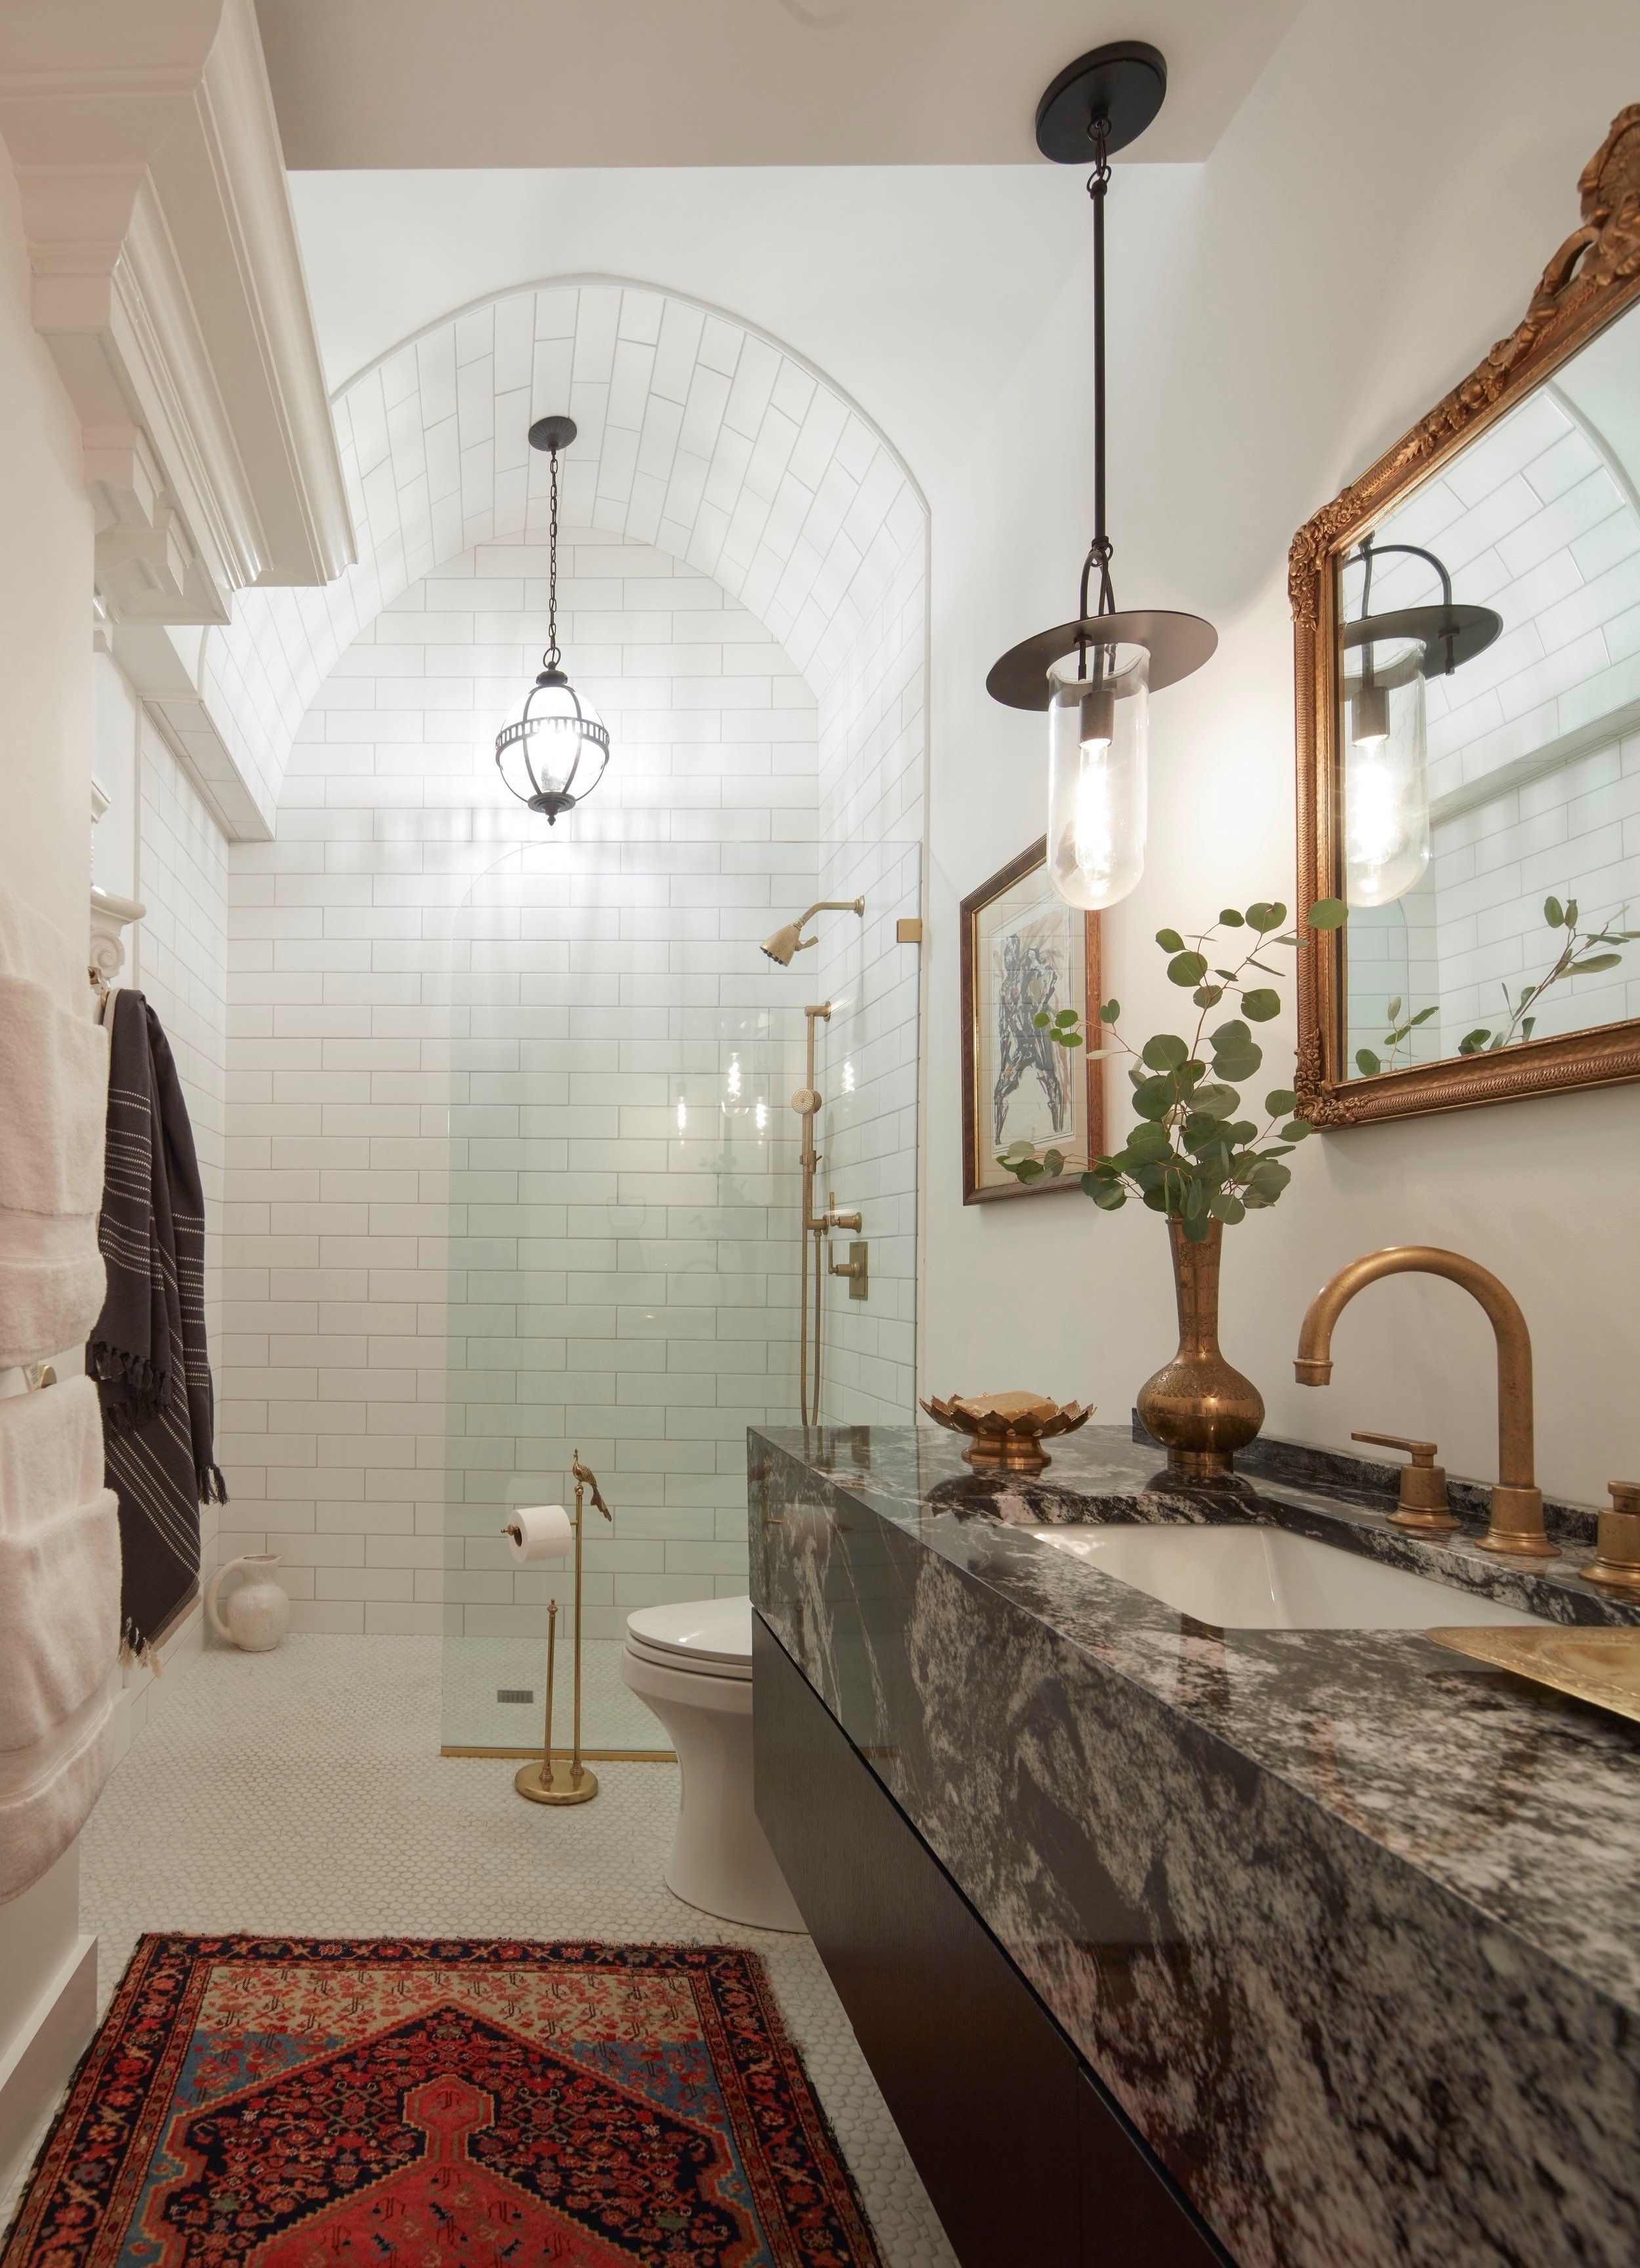
The amount of times I use vintage wood mirrors in a project — well… I cannot even count! This whole project (a must see) was a blast — and in all the of the bathrooms we used vintage wood mirrors. Such an easy way to add warmth and character (not to mention — old mirrors have the best glass — so for some reason I always look better in them. This luxury modern church turned into a home/condo was a fabulous project!!

Just buy and place. Doesn’t get any simpler than that! Vintage wood pieces are beyond measure! Seriously — you can never go wrong! This was a fun vacation rental project I helped renovate all via online (during Covid).

A tiny table, a step ladder, old cutting boards, frames, wooden spoons… bespoke vintage and antique furniture and reclaimed pieces are beyond affordable. Plus — these one-of-a-kind pieces will make your project stand out! The quality of the materials are hard to find today — and if they were built the exact same way — they would not be unaffordable. The saying Oldie but Goodie holds true for unique wooden treasures.

Old Wood Kitchen Cabinet Turned Coffee Table DIY project is featured in my book, Salvage Secrets Design and Decor. Found objects will make your interior design project stand out!

Get out there and have some Reclaimed Fun! XOXO Joanne

BEFORE and AFTER of a MINI MOTEL MAKEOVER -- TWICE AS NICE :)

TWICE as NICE…thanks to working with my twin sister Rosanne Palmisano. Super fun to help Daniel, the new owner of the Dunsmuir Inn (now The Angler Lodge) in Dunsmuir, California.

With this SUPER BUDGET FRIENDLY mini-makeover, together, we show how you can STILL have BIG RESULTS with LESS TEARING OUT. :)

ENJOY THE BEFORE AND AFTER FUN! XOXO Joanne and Rosanne

BEFORE: A very respectable room… just no pizzazz.

AFTER: Now we’re talking!!

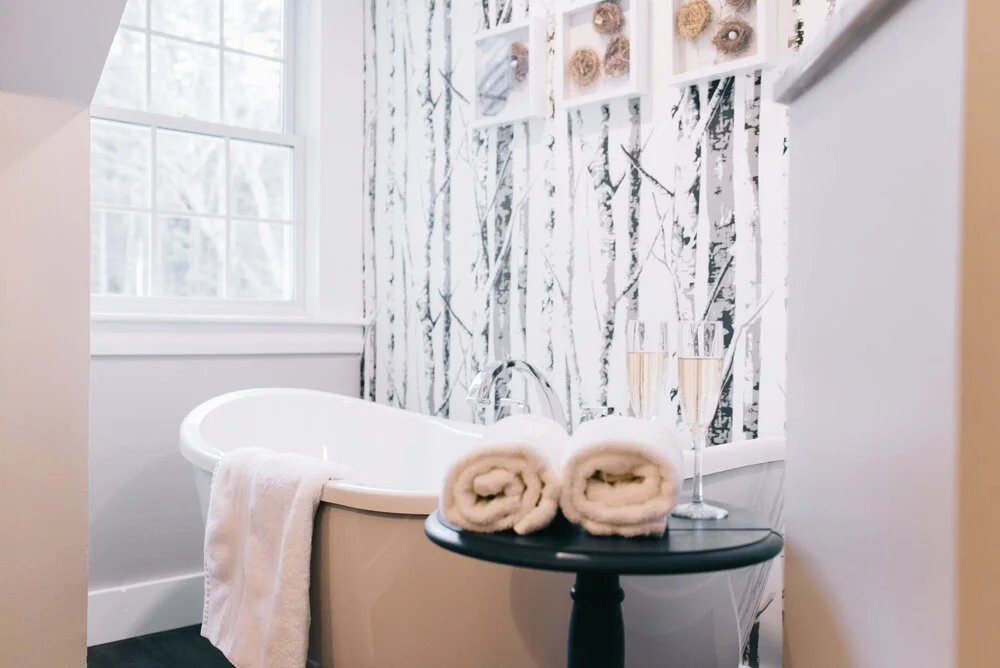
We kept the furniture because it was in good condition, as well as the new mattresses… but updated the paint, walls, and added a dramatic wallpaper on the bed wall. We got rid of the upholstered furniture and rearranged the space to have a little more room around the pieces and have the space be more inviting. We also added relevant decor. Voila!

BEFORE: Again, not bad, just nothing to grab you and saying — STAY HERE! :)

AFTER: Now we are talking! Seriously people, it is not rocket science, pillows that fit the bed, two per person, a custom (washable) throw pillow, a little greenery, a modern lamp, and a dramatic wall covering… just a couple of changes — makes this furniture look totally different.

BEFORE: A bit outdated for sure. Also — not utilizing the space to its best potential. Lights directing to the ceiling — certainly not going to help us put our makeup on. :)

AFTER: Still keeping the cost down, we changed out the counter to be real stone, added a wider apron for a more modern look and a shelf below for a bit more storage space. We changed out the paint colors, including an amazing datum line around the room, a better light fixture to really light up the space and more relevant art (it is now, The Angler Lodge).

BEFORE: The coffee machine was in the bathroom, the TV on top of the kitchenette, a light in a weird location… a lot to unpack here. But Rosanne and I had some ideas…

AFTER: We added a datum paint line around the room, except for the wallpaper wall (an easy and affordable way to add drama to a space). Then we used the same electrical box where the wall sconce was and “swagged” a light fixture to be over the kitchenette area. We moved the mirror to be behind the door. We hung up a larger TV and in the suites we added a table and some stools (the other rooms have benches). Now we can hang out and enjoy our dining area.

BEFORE: This lobby did its job, it was a space to check people in and that’s it. But now, a self-check-in motel, we didn’t really need the space, so how could we turn it into something the guests would enjoy? Hmmmmmmm…. thinking…. thinking….

AFTER: By creating an adventurer’s library of course! Being right on the Sacramento River, some of the best fly fishing in the country, backed up to Mt. Shasta, amazing hiking and more — we really wanted to speak to the area — and all the incredible sports and adventures available to guests. So with the same wallpaper we used in the rooms (bringing it all together), some rustic industrial style shelving, relevant decor, local area informational books, and super cozy seating in the middle of the space — guests can come in here and relax, grab a book, or do a little work. Our goal was to make it look like a luxury fishing lodge from the past… how did we do? :)

BEFORE: We didn’t want to make any big changes to the exterior, it was not in the budget, and the building was recently painted so it was in good condition, but a small change would not go amiss.

AFTER: Just a simple change of the door color transformed the exterior look of the building. Bring the bold blue from the inside out.

BEFORE: The Porte-cochere (a structure for vehicle passage) is no longer needed. What to do? What to do?

AFTER: Why turn it into a Portico (a structure for human entry). Simply add some blue Adirondack chairs, a gas firepit, potted greenery and voila, instant gathering spot for guests.

HOPE YOU LIKED THE BEFORE AND AFTER… HERE ARE A FEW MORE SNEAK PEAKS OF THE DESIGN CONCEPT…and DETAIL PICS.

Rosanne and I worked together to create the concept for the mini-makeover. Here is a page from our Vision Board.

Simple sketches help convey ideas…we love old school ways!

The details matter!! Custom pillow design from an upholstery grade fabric (with zipper for cleaning), a unique blanket and local relevant art! All put together beautifully.

AFTER: The Head Shot :)

LOVE IT when I get to work with my twin sister on Design Projects (Joanne on the left, Rosanne on the right).

Need to see more of our projects… Check out our BOOK!! Rock Your Rental, Style, Design and Marketing Tips to Boost Your Bookings — not just for the vacation rental market — but for anyone who wants to refresh their spaces in a budget friendly way. It is only $20 Bucks on Amazon.

Ciao for now! Joanne and Rosanne (the dynamic design duo — just made that up).

We hope you Get Inspired by our Boutique Motel Mini Makeover :) Joanne and Rosanne


15 SPRING DIYS - EASY TO DO!

With over 250 projects completed for DIY NETWORK… and at least 2 dozen DIY’s in my books… I thought I’d show you a handful that felt like spring to me. I love this time of year because we are all ready to get outside and work with our hands. Here are some easy ones for you— so give a it go! HAVE FUN!

Made these Picnic Clips Weights to Keep the Picnic Table Cloth from blowing around. So much fun. A rock, a curtain clip and some vintage colorful sheets and ribbons — fun and easy. Here is the STEP BY STEP on DIY NETWORK.

Made these Picnic Clips Weights to Keep the Picnic Table Cloth from blowing around. So much fun. A rock, a curtain clip and some vintage colorful sheets and ribbons — fun and easy. Here is the STEP BY STEP on DIY NETWORK.

Then there is the colorful Chevron Pattern Dresser… I’m big on dresser redos :) Here is the STEP BY STEP on DIY NETWORK.

Then there is the colorful Chevron Pattern Dresser… I’m big on dresser redos :) Here is the STEP BY STEP on DIY NETWORK.

Who doesn’t love a photo pillow for Mother’s Day. These IRON-ON TRANSFERS make is SUPER SIMPLE. PLUS… More EASY PILLOW IDEAS HERE.

Who doesn’t love a photo pillow for Mother’s Day. These IRON-ON TRANSFERS make is SUPER SIMPLE. PLUS… More EASY PILLOW IDEAS HERE.

Love old canning jars, especially the blue ones. If you are going to use them with candles, make sure the flame is close to the top so you don’t heat up the inside as much. I love this spring shot that Susan Teare took…

Love old canning jars, especially the blue ones. If you are going to use them with candles, make sure the flame is close to the top so you don’t heat up the inside as much. I love this spring shot that Susan Teare took…

I still can’t believe this DIY, recycled glass bottle picture frames (memory jars) went viral on DIY NETWORK. Crazy EASY! HERE IS THE STEP BY STEP on DIY NETWORK.

I still can’t believe this DIY, recycled glass bottle picture frames (memory jars) went viral on DIY NETWORK. Crazy EASY! HERE IS THE STEP BY STEP on DIY NETWORK.

Get ready for those Bar-B-Ques and Picnics with these mason jar chalk paint glasses. Here are 11 WAYS to use Mason Jars and Recycled Glass Bottles in DECORATING…

Get ready for those Bar-B-Ques and Picnics with these mason jar chalk paint glasses. Here are 11 WAYS to use Mason Jars and Recycled Glass Bottles in DECORATING…

This summer’s project with your kids… make a cork message board for their rooms out of an old picture frame. Crafting together is a great way to spend time together. Here is the STEP BY STEP.

This summer’s project with your kids… make a cork message board for their rooms out of an old picture frame. Crafting together is a great way to spend time together. Here is the STEP BY STEP.

Time to clean out the sunroom and/or porch and get it ready to be used. This built in bench was one of the eight videos I did for DIY NETWORK. Crazy affordable and you can do it in a day! HERE IS THE VIDEO!
Time to clean out the sunroom and/or porch and get it ready to be used. This built in bench was one of the eight videos I did for DIY NETWORK. Crazy affordable and you can do it in a day! HERE IS THE VIDEO!

I really can’t do a SPRING DIY COLLECTION without this baby!! One of my favorite dresser redos— painted with blue and white stripes and some pink paper flowers. HERE ARE 19 PAINTED DRESSERS — YOU’LL SEE A COUPLE OF MINE IN HERE… HAPPY SPRING DIY HER…

I really can’t do a SPRING DIY COLLECTION without this baby!! One of my favorite dresser redos— painted with blue and white stripes and some pink paper flowers. HERE ARE 19 PAINTED DRESSERS — YOU’LL SEE A COUPLE OF MINE IN HERE… HAPPY SPRING DIY HERE!

If you want to create a container garden or a raised bed this year… check out this movable shipping pallet DIY… Affordable solution to a raised bed — and it is on wheels!

If you want to create a container garden or a raised bed this year… check out this movable shipping pallet DIY… Affordable solution to a raised bed — and it is on wheels!

A little yarn and a couple of sticks — and a glue gun! MIKE DROP. This easy (but a little time consuming) DIY is in my book, Salvage Secrets Design and Decor.

A little yarn and a couple of sticks — and a glue gun! MIKE DROP. This easy (but a little time consuming) DIY is in my book, Salvage Secrets Design and Decor.

And then there is the adorable… dog bed DIY made out of an old drawer. Click Here to Make it in an Afternoon.

And then there is the adorable… dog bed DIY made out of an old drawer. Click Here to Make it in an Afternoon.

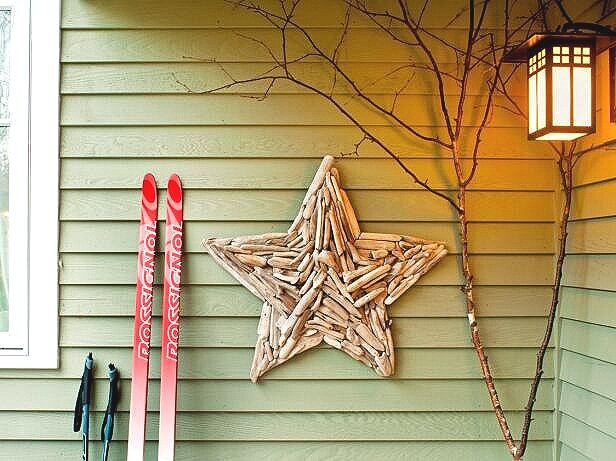
The driftwood is starting to float up on my beach — time to go collect it — and make a heart, or a wreath, or a chain… so many options… so much driftwood! HERE ARE A NUMBER OF BUDGET FRIENDLY WAYS TO DECORATE WITH NATURE I MADE.

The driftwood is starting to float up on my beach — time to go collect it — and make a heart, or a wreath, or a chain… so many options… so much driftwood! HERE ARE A NUMBER OF BUDGET FRIENDLY WAYS TO DECORATE WITH NATURE I MADE.

LOVED making this curtain for my book, Salvage Secrets Design & Decor. Can be used as a privacy curtain, shower curtain or any other fun decor spot you can think of.

LOVED making this curtain for my book, Salvage Secrets Design & Decor. Can be used as a privacy curtain, shower curtain or any other fun decor spot you can think of.

LAST BUT NOT LEAST — STILL ONE OF MY FAVORITE PICTURES… DIY VASES — This second hand glass vase was wrapped in chicken wire, a purple ribbon and a vintage brooch. I LOVE LILACS!

LAST BUT NOT LEAST — STILL ONE OF MY FAVORITE PICTURES… DIY VASES — This second hand glass vase was wrapped in chicken wire, a purple ribbon and a vintage brooch. I LOVE LILACS!

HAPPY SPRING EVERYONE! Follow me on INSTAGRAM and sign up for my BLOG posts (only a few a year). Can’t wait to share my news about another upcoming book! XOXO Joane